How to Easily Adjust Tire Pressure on Your Fat Bike
How to Easily Adjust Tire Pressure on Your Fat Bike!
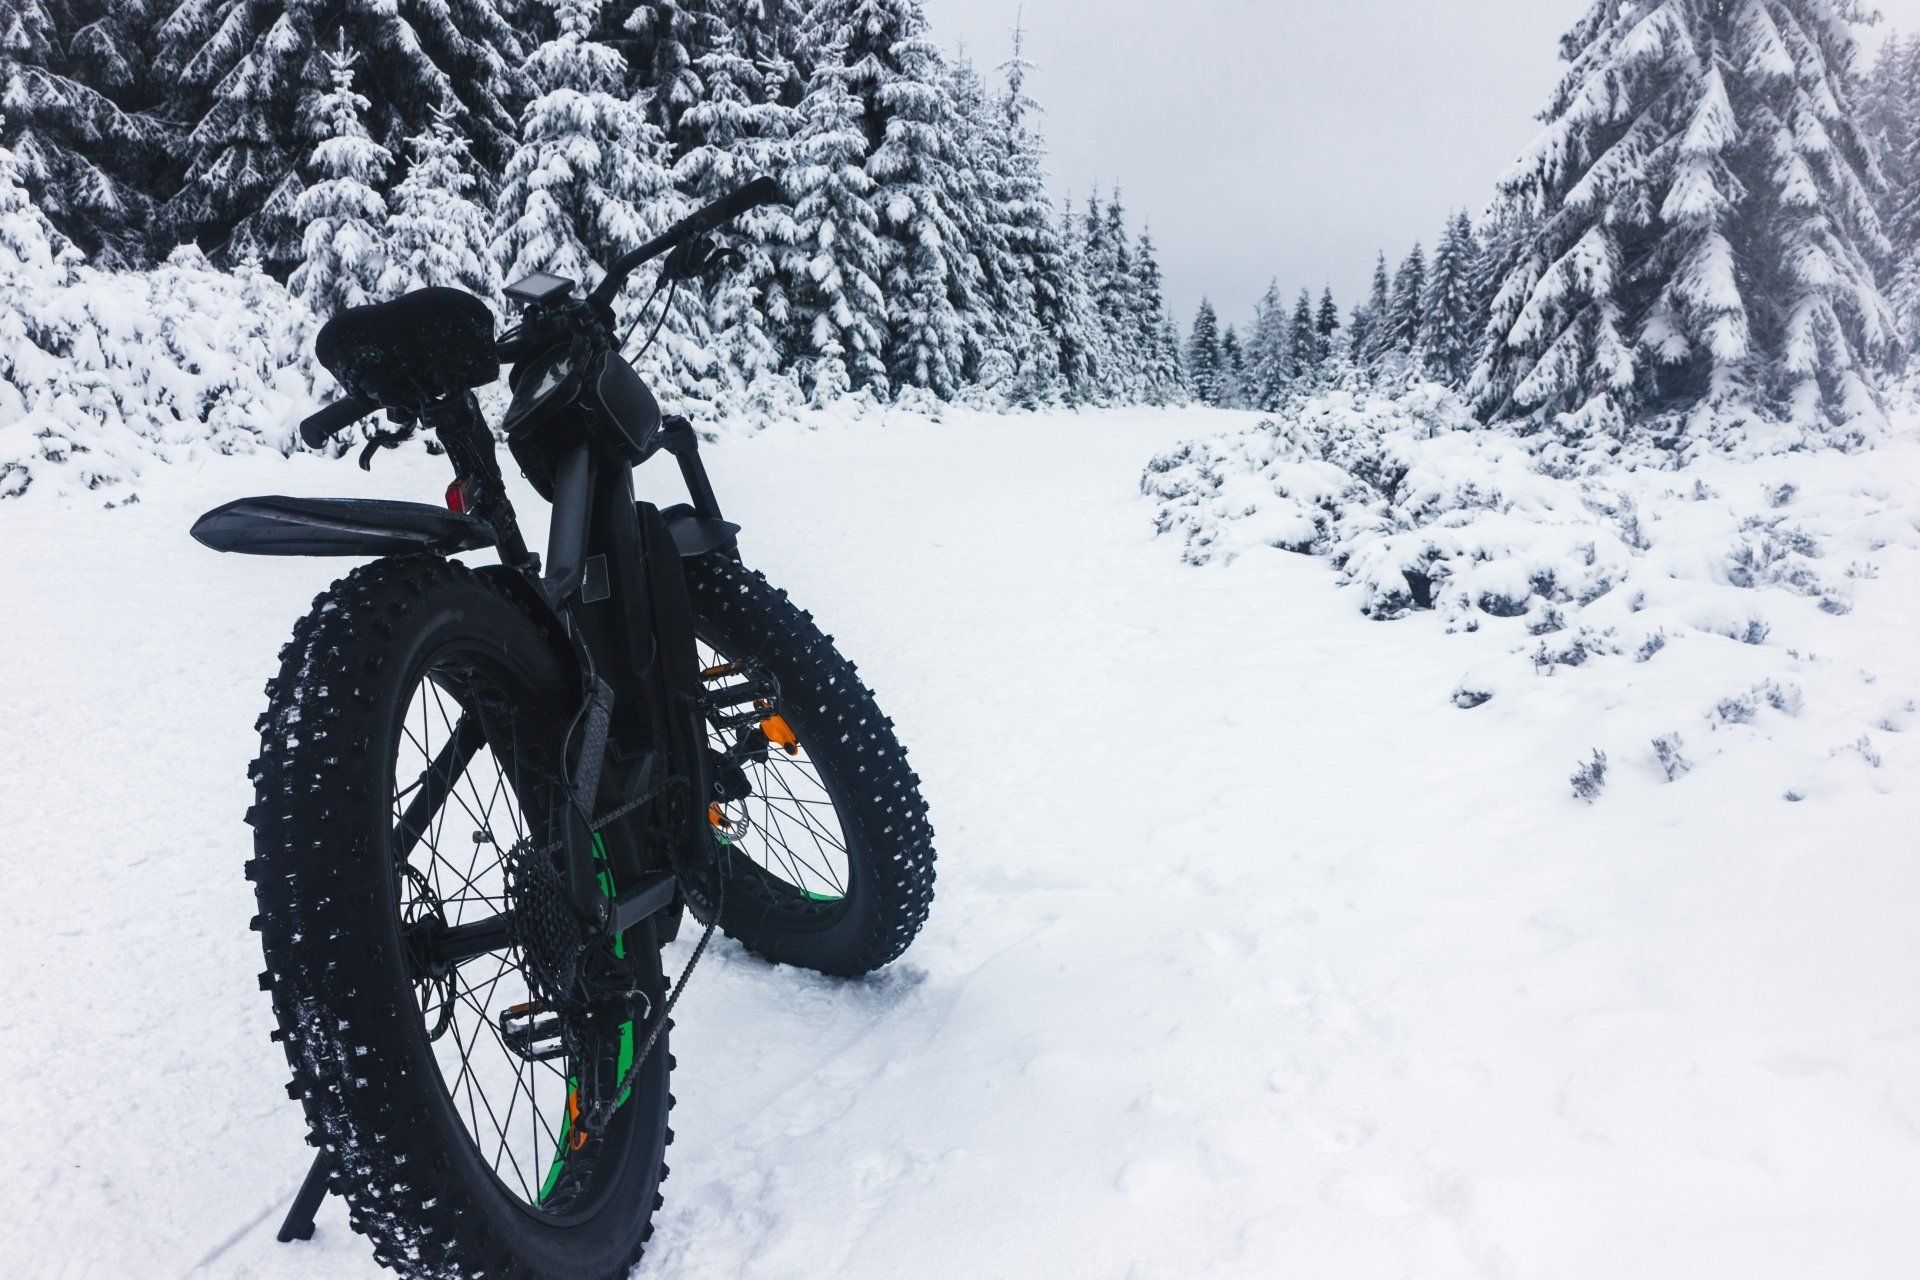
Despite their growing popularity, many people still regard fat bikes as a curiosity. These strange-looking contraptions get a lot of attention, whether they're on the path or outside the garage. It's no surprise that when I show off my fat bike (which I do frequently), everyone's attention is drawn to the tires. And it's not without reason. Fat bikes are distinguished from their two-wheeled counterparts by their tires. After bystanders have recovered from the shock of seeing such a cartoonishly big tire, the topic of fat bike tire pressure generally arises. Because the stakes are so minimal, the response frequently catches people off guard.
There are legitimate reasons for employing such low pressures, of course. And, while they are always low, they can fluctuate based on the riding conditions. This is true for fat bike riding in the summer as well as the winter. Furthermore, fat bikes use such low pressure that a regular floor pump will have difficulty gauging it.
Does this sound perplexing? Don't worry, if you follow the fundamental criteria mentioned in this article, you'll be dialing in your fat bike's tire pressure like a pro in no time.
Why is fat bike tire pressure so low?
Many people are astonished to learn that, depending on the weather, I run my fat bike tires at pressures ranging from 4.5 to 6.5 PSI (pounds per square inch). However, when you consider the vast volume of the tire and how it will be used, these figures aren't so far-fetched.
As a comparison, let’s look at the pressures in a few different types of common tires:
- Road bike tire = 80-130 PSI
- Mountain bike tire = 20-30 PSI
- Car / Truck tire = +/- 30-35 PSI
- ATV tire = +/- 2-10 PSI
Of course, these figures are provided solely for educational purposes. The pressures utilized in these various types of tires will vary depending on the conditions of use and the preferences of the user. When you put them next to each other, though, some patterns emerge.
The optimum pressure lowers as tire volume increases. When comparing the road bike tire to the mountain bike tire and the car/truck tire to the ATV tire, this is clear. A bigger volume tire with lower pressure will feel similar to a smaller volume tire with higher pressure.
In addition, tires that demand more grip on potentially uneven or soft surfaces have lower tire pressure. Because of the nature of mountain biking, a mountain bike tire will require greater traction than a road bike tire over uneven or soft conditions.
What does this mean for fat bike tires?
We can deduce from these patterns that fat bike tire pressure is low due to the combination of big tire volume and the necessity to ride on soft and/or uneven terrain. The higher the tire capacity, the lower the pressure, and the more the requirement for traction or float, the lower the pressure once more.
The volume of your fat bike's tires is constant and does not fluctuate. So, if the conditions remained constant, you might choose a tire pressure (say, 5 PSI), set it, and forget it. However, fat bike circumstances might vary greatly, including soft snow, ice, sand, asphalt, and so on.
These factors will influence how you establish your ideal tire pressure from ride to ride (and even within the same ride). Let's take a deeper look at how to calculate tire pressures and utilize them as a starting point.
Altering pressures to suit the conditions
Soft snow conditions require different traction/float requirements than hard-packed snow, and the same is true for riding on sand versus riding on asphalt. You can alter the grip qualities of your fat bike tires in one of two ways: replace tires with various tread patterns or adjust the tire pressure. The more practical and cost-effective of the two procedures, regulating tire pressure, is the focus of this article.
It's all about hard vs. soft.
It makes little difference whether you're riding on soft snow or sand, asphalt, or hard-packed snow and ice when it comes to tire pressure. The only thing that matters is whether you're riding on a hard or soft surface.
Soft conditions
Soft conditions in the winter usually occur after a snowfall (before the track has been groomed or packed by riders) or when the air temperature climbs to the point where hard-packed trails melt and soften. In the absence of snow, soft can refer to sand or wet/muddy pathways (even on a fat bike it can be bad form to ride wet or muddy trails).
In either scenario, the goal is to keep above the snow, sand, or mud and avoid becoming bogged down.
Some argue that the mere size of a fat bike tire is enough to keep it afloat on soft surfaces. To some extent, they would be correct. However, pressure modifications can boost float and traction much more. Low tire pressure is the name of the game in soft circumstances.
In soft terrain, low tire pressure is excellent because weight is applied to the tires when you sit on the bike, and the low pressure helps them to flatten out. The surface area grows as they flatten out. This distributes the weight over a larger surface area, allowing the tires to float above the snow (or at least not sink as far as they would with less surface area).
Simultaneously, the increased surface area improves grip in soft or slick conditions.
Hard-packed conditions
In the winter, when a route has had a lot of traffic but no new snow, hard-packed trail conditions are common. When you combine some slight daytime thawing with an overnight freeze, you can end up with rock-hard winter fat bike routes.
In the summer, most dry singletrack, as well as man-made surfaces like asphalt, would be termed hard-packed.
Float is no longer an issue in these settings, but rolling resistance becomes a factor. Few people want to make their journey more difficult than it has to be. The majority of us prefer to bike longer and faster than shorter and slower. To do this, we want our tires to have the lowest possible rolling resistance. And this means increasing the tire pressure.
Low tire pressure improves surface contact and float while simultaneously increasing the rolling resistance of a tire. Increased tire pressure reduces surface contact and, as a result, tire rolling resistance. All of this means that simply increasing your tire pressure will allow you to ride farther and faster with the same level of effort.
Mixed conditions
It's fantastic when you know the path will be either consistently hard or soft. It's simple to choose a tire pressure, and you'll know you've got the correct one for the job. However, trail conditions aren't always as easy as they appear.
The most of the time, your ride will be a combination of hard and soft packed terrain. So, what are your options? Compromise!
Changing your tire pressure on the trail as conditions change is one approach for dealing with diverse trail conditions. However, this is time-consuming, and it is unfeasible if the conditions are truly mixed. You'd spend more time off your bike than on it adjusting pressures. Instead, I recommend simply adjusting your tire pressures to somewhere in the middle of what you'd use for hard and soft circumstances. When the weather is mild, you'll have more float, and when the weather is rough, you'll have less rolling resistance.
Some cold, hard numbers
This is all great in theory, but let’s get down to some practical numbers we can actually use. Here are the tire pressures I use for the conditions discussed above:
- Soft conditions 4.5 PSI
- Mixed conditions 5.5 PSI
- Hard packed conditions 6.5 PSI
Measuring very low tire pressures
Most floor pumps and small hand pumps can't even read tire pressures below 4.5 psi, let alone distinguish between 4.5 and 5.5 psi. A low pressure gauge is useful in this situation.
Of course, some riders prefer to rely solely on their senses, and this is a viable alternative for assessing tire pressure. However, if you want to be able to consistently recreate different tire pressures, you'll need a low pressure tire gauge.
The majority of low-pressure gauges are not connected to a pump. They are stand-alone devices that are only used to measure tire pressure. They are more accurate than typical floor pump gauges, measuring pressures to one-tenth of a PSI in many circumstances.
Most are tiny enough to fit in a hydration pack or hip sack, so you can bring one along with your fat bike gear.